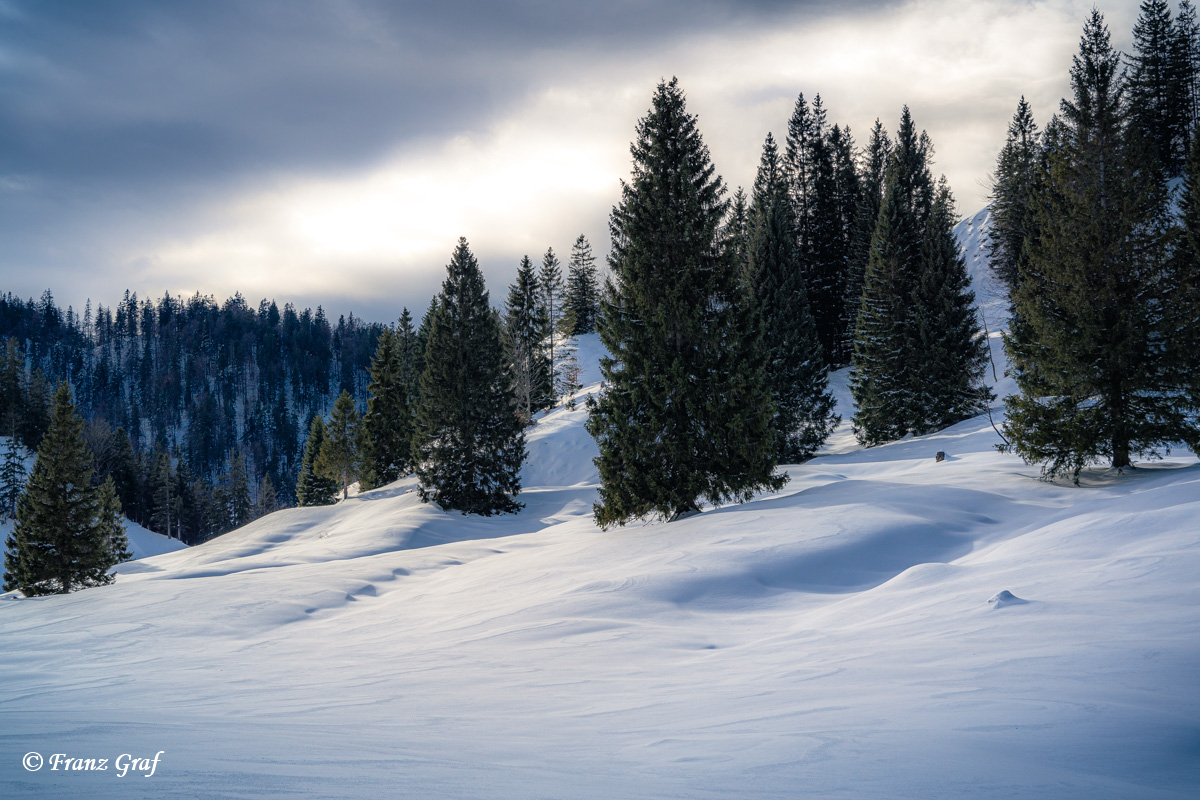
In “A Snow Hike” I described the overall hike that we did end of January: The sky was grey throughout without any contours – not exactly what you want for beautiful photos. But changing the weather is out of my reach. I accepted that taking good shots would be difficult that day and that I would not get what I had hoped for. In some places the wind had blown away most of the snow just to pile it up at the next slope where we found ourselves crawling through hips deep snow. Luckily, it was powdery, so it wasn’t totally exhausting go on. The light was more of a twilight. In the plains there were hardly any contours in the snow, no structure in the sky. Just plain white & grey.
We were just crossing a flat alpine meadow and were heading back towards the end of our journey when I realized that I started to see my own shadow in front of me. At the same time, everything around started to become brighter. Would the sun really have found a way? – I stopped, turned around – and at that moment, a very thin layer of clouds let the sun break through, and the scene was simply AMAZING!

Photography wise, I knew: the clouds were moving quickly, no time to evaluate and tune all the settings of the camera, no changing the lens, no searching for a composition. Just be quick, rely on the intuition, take whatever is possible and hope it turns out well!
Regarding the post processing, I usually start with cropping – and I was positively surprised that I didn’t want/need to crop at all. The composition is to be great as it is:

For the global adjustments:
- increased color temperature just a little bit to make the photo warmer
- increase the overall toning a bit
- decrease exposure by ~0.5 stops. This also reveals a lot of structure in the sky!
- increase the contrast
- fully reduce the highlights and (almost) fully raise the low lights
- adjust white and black point to span the full histogram
- increase the overall structure and sharpness
- decrease clarity to get a better ethereal look
In the split toning:
- give the shadows a slight blueish touch and
- the lights little warm yellow / orange
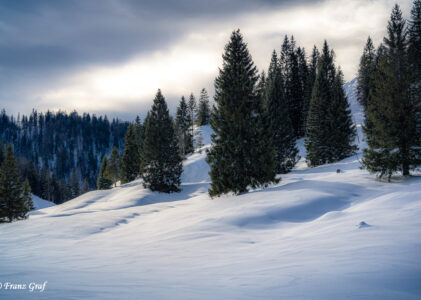
As the snow was literally untouched, just very few, small elements needed to be stamped away.
Masking!
Mask1: The sunny part of the sky: a little warmer toning, +0.75 exposure, reduce the lights, increase the depths and reduce clarity. Now it looks more like I remembered it on location!
Mask 2: The foreground: +0.2 exposure, some contrast, decreased the depths and a tiny bit of structure to emphasise the wonderful structures of the snow drifts.
Mask 3: In the mid- & background, only clarity was reduced for a more ethereal look.
Mask 4: The vignette with reduced exposure and a little cooled toning.
Mask 5: The top left corner was just a BIT too bright.
Mask 6: The spot where the sun hit the snow in the foreground: A little bit warmth, contrast and reduced depths.

